
Ortho Tools
Below, I'm going to list many of the accessories I've collected for use in Ortho workup. There are lots of options out there, but these are the tools we use on a regular basis for ortho treatment or ortho lab work. I've refrained from listing tools that you will need to buy from a dental supplier. I may add those in the future, but not for now.
Below, you will first find a playlist to shows the use of some of these tools. After that is each individual tool with direct purchase link.
DISCLAIMER: We are a participant in the Amazon Services LLC Associates Program, an affiliate advertising program designed to provide a means for us to earn fees by linking to Amazon.com and affiliated sites. Your purchase prices are not affected by this participation.
Tray Processing

Releasing Agent:
Coat your models with this and your trays will easily release. Truly a game changer.

Scotch Pads:
If you want to DIY your polishers, just cut small circles out and attached to a lab mandral. They'll wear out quickly, but the box will last a LONG time.
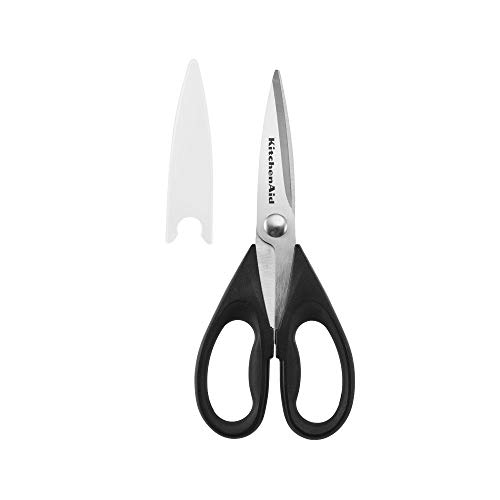
Heavy Duty Scissors:
Scissors with rigid grips are helpful for initial foil trimming.

Lexan Scissors:
Scissors can relatively quickly and efficiently cut our your tray and leave you with little polishing needed.
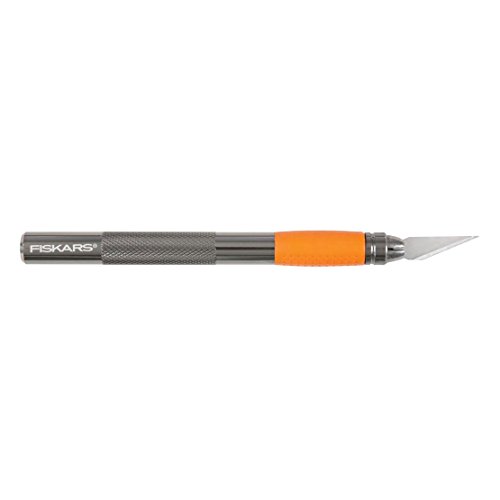
Blade Handle:
A heavy duty blade handle is necessary if you want to use a blade to cut the plastic.

Blades:
You want a heavy duty blade if you're going to be cutting aligner heels. There is a trick to it. Be sure to watch Barry Voltz's video on it.

Nail Trimming Handpiece:
This extremely affordable alternative to a traditional lab handpiece is great for trimming aligners and polishing.

Tray Polishers:
These are a cheap alternative to the one's you might find from most dental suppliers. They work just as well.
Clear Aligner Packaging:
The following items are what you need to start packaging your Aligner Trays in a clean, professional manner. The clear mylar type bags keep the delivery clean. The labels make it easy to identify the patient, tray number, and even include your office logo.

Aligner Bags:
These bags are perfect for holding and upper and lower aligner. Place a label with the patient's name and tray numbers to finish it off.

Bag Sealer:
This will seal your retainer bag. Inexpensive and puts the finishing touch on providing your patient with well organized aligner sets.
Digital Label Maker:
This is a super easy no-ink label maker. You can quickly create a template with your logo to really customize the result.

Patient Labels:
The labels are the perfect size to include your office logo, patient name, and any content description like Upper and Lower Tray numbers.
Education Materials

Aligner Treatment Book:
This book centers around the use of Invisalign, but many of the concepts covered translate well to BlueSkyPlan Ortho.

4D Skull:
This demonstration model is excellent for demonstrating the various bone of the skull and what happens when MARPE is done.
Patient Supplies

Chewies:
These help the patient to get trays to seat. You can also use cotton rolls, but these are resusable and come in a case. They come in Flavorless, Mint, and Bubblegum.

Outie Tool:
This simple tool helps the patient to remove their trays and place elastics if necessary. This package comes with 60 Individually Wrapped.
